Showing posts with label DIY. Show all posts

Monday, September 8, 2014

Craft bunting Easy for kids


So my all time favorite blog is Under the Sycamore by Ashley Cambell. This is the first blog I ever followed. I never really knew about blogs before this. I was amazed at her outlook on life, her heart and vulnerability. It caused me to look at my own life and family and start noticing the small things that make life so rich and lovely!

I have been following her for several years now and it even inspired me to started my own blog.  

Ashley posted an easy DIY the other day and I wanted to try it with Chloe. You can see her post and instructions here. 

We had a fun project date while her siblings were napping at home. 


Super easy for kids to do and great for their motor skills.

Have fun.

Xoxo,

Carol

Monday, January 14, 2013

Pattern Remix DIY

I found this post I wrote a while back, but for some reason I never posted it.  And since I have been spending more time sewing lately, I thought it would still be fun to put up on the blog.


Here is a DIY for you sewers out there.  I made a little dress for Chloe for her first birthday.  You can see how her party turned out here on my daughter Brittny's Blog.  It was the cutest 1 year old birthday party.  

I found a basic McCall's Pattern.  

I wanted to switch it up a bit so I cut the pattern to give it an empire waste. When you do this, you have to remember to give each peace a seam allowance.  I added the seam allowance with some white pattern paper I have.  

Next, I wanted to give it some ruffles, so I cut four pattern pieces the width of the pattern plus an  extra 6 inches to make a ruffle.  This is the white rectangular shaped paper sitting on top of the pattern pieces.  

I cut the base of the dress out of a white cotton lining fabric with a cute Amy Butler fabric for the top.  I added the ruffles out of a white on white plaid voile fabirc to the basic dress.

Instead of using store bought bias tape, I made my own and added it for the band at the bottom of the empire waste and at the straps.  


I also made a matching bunting.  Here is the Post for the making of it.  

Awe, look how little Chleo was.

One year old birthday parties are a big deal.  We should be having another one hear in a few months for Claire.  I better start working on her first birthday dress.

Talk to you soon!


Love,

Carol


Tuesday, September 13, 2011

Flower DIY

Another DIY
(I think I got enough photos this time.)


Today's DIY is for making fabric flowerettes.  They are easy and don't take much time.  You can make them while watching Project Runway or whatever your favorite TV show is.  That is what I do.  I don't like to just sit in front of the tele without something to do.
I made these for our stockings we made on Craft Day.


First you need a length of fabric.  I usually use the width of whatever fabric I am using.  So if the fabric is 45" wide, that is how long your piece will be.   You do not have to use this much.  You probably won't or you flower will get very large.  But it will work to make it larger,  you will just need to sew it up as you go.

Cut or rip about a 1" strip of fabric.  I like to rip my fabric because I like the edges all frayed, but it can have a clean edge as well.


Second, fold the end up to make a triangle.


Then grab the bottom of the triangle and start rolling the fabric.  This starts the center of the flower.


Once you get the center started, fold the long end of the strip.  See the picture below.
After you fold the strip down, keep rolling the center.

Keep folding and rolling, holding on to the small center part.  This acts as a sort of stem.

As the flower starts to get bigger, the pedals will start to form.  The flower will get flatter.

With a needle and thread, sew the underneath part of the flower securing all the layers.
 (ok, maybe I should have had one more picture here of me sewing the back so let me know if you have any questions. I'll be glad to get back to you)

Anyway, you will see these little guys show up in a later post on top of a stocking waiting to be shipped to Alabama.


xoxo,

Carol

Thursday, September 8, 2011

Bunting DIY

Today is DIY day.  I will show you how to make your own bunting.  This is a very easy project and does not take much time.  I'm sorry I don't have more pictures of the details, but I will try to describe the steps well enough so you can figure it out.  If you have any questions, please feel free to contact me and I will most definitely get back to you.


My bunting was being used outside, so I made the triangles rather large.  You can make them any size you want depending on where it will be placed.


I used a rotary cutter and cut out a front and back for each triangle.  Scissors will also work. I made my triangles 14" on the long sides and 9" on the short side.  After I cut out the triangles, I placed 2 triangle pieces right sides together and sewed down both long sides.  Turn right side out and press.


I determined how long I wanted my bunting to be and then divided by the width of the top of the triangle to find out how many triangles I needed.  


To attach the triangle pieces to ribbon, I used vintage ribbon that was 2" wide.  I ironed it in half length wise.  I then pinned each triangle inside the fold of the ribbon.  Sew down the edge of the ribbon to enclose the triangles into the folded ribbon.


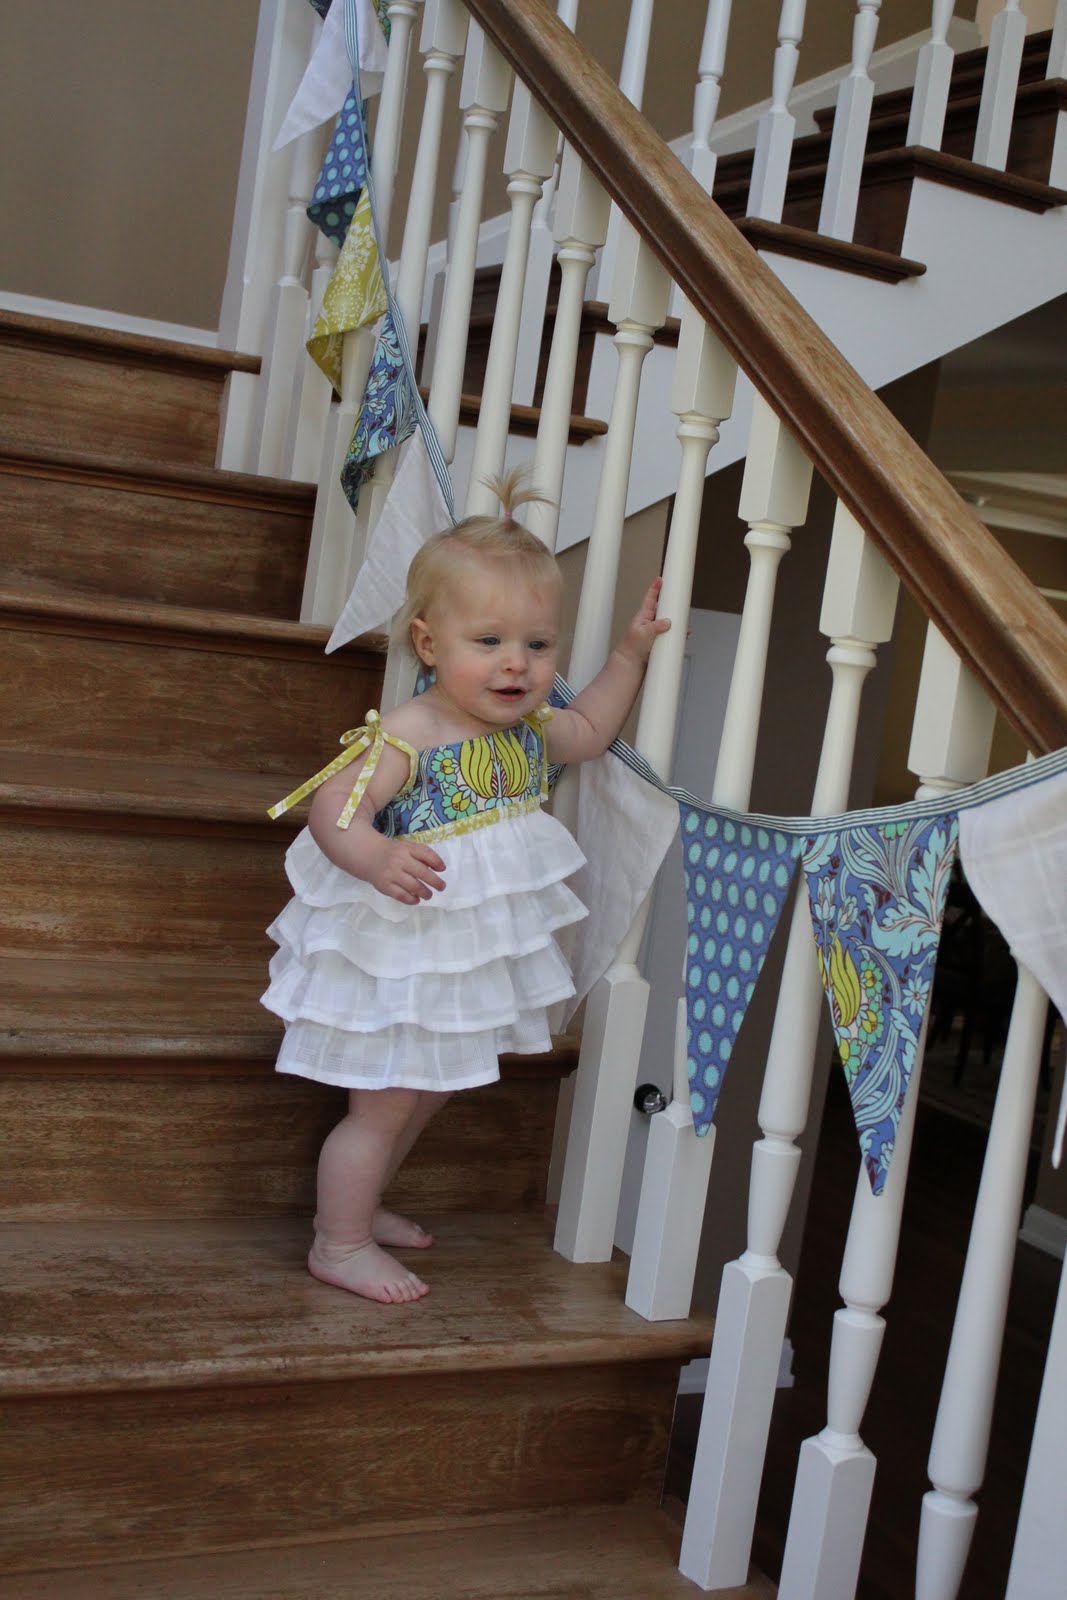
Here is the bunting draped over the stair railing for some cute pictures of Miss Chloe. 


Her cute little matching dress will be a DIY later this week.


We used the bunting as a decoration for Chloe's first birthday.


Here is the buntings new home.  On my daughter Bailey's bed.  I love that we found another use for it.  I would be so sad to have it used for only one day.


This is what 15 year old's beds look like...who am I kidding, that is whay my bed looks like as well.
Who has time to make beds when you are busy sewing?

I think the hardest part about blogging a DIY is remembering to take pictures of all the steps.  I'll try to get better at taking more pictures the next time I do a DIY project.  I'll be posting about our stockings after this Saturdays Craftivism day.  We'll see how it goes.  Maybe I can talk someone else into being the designated photographer.  :)


Tuesday, August 30, 2011

Easy Chicken Costume

Fall is just around the corner and it's time to start thinking of Halloween Costumes.
Last year we dressed Chloe up like the cutest little chicken I've ever seen.


Most items were purchased.

White long sleeve onsie
White tights
And white feather boa.

I made the hat by just drawing a 1/2 circle and then a strip for the middle section.
I added ribbon to tie it on.
I then drew out the comb of the chicken head on paper and cut out of red felt.
I stuffed it with fiberfill and hand stitched it to the hat.


I think you may be able to find a hat online to avoid having to make one.  I just waited too long.


We pinned the boa to the onsie with safety pins.


And that was it!  How simple and adorable!


xoxo,
Carol

Friday, February 11, 2011

Chalkboard wall DIY


I have seen so many chalkboard walls, dressers and random items, that I just had to have one.  I thought  it might take some convincing Tom to let me paint a wall black, but he actually was totally okay with it.  So I didn't waste any time.  I found the perfect wall to paint in my kitchen. 


I ran to the paint store and within a few hours, I had the first coat on.  The directions suggested 3 coats of paint.  


And then wait 3 days before writing on it.


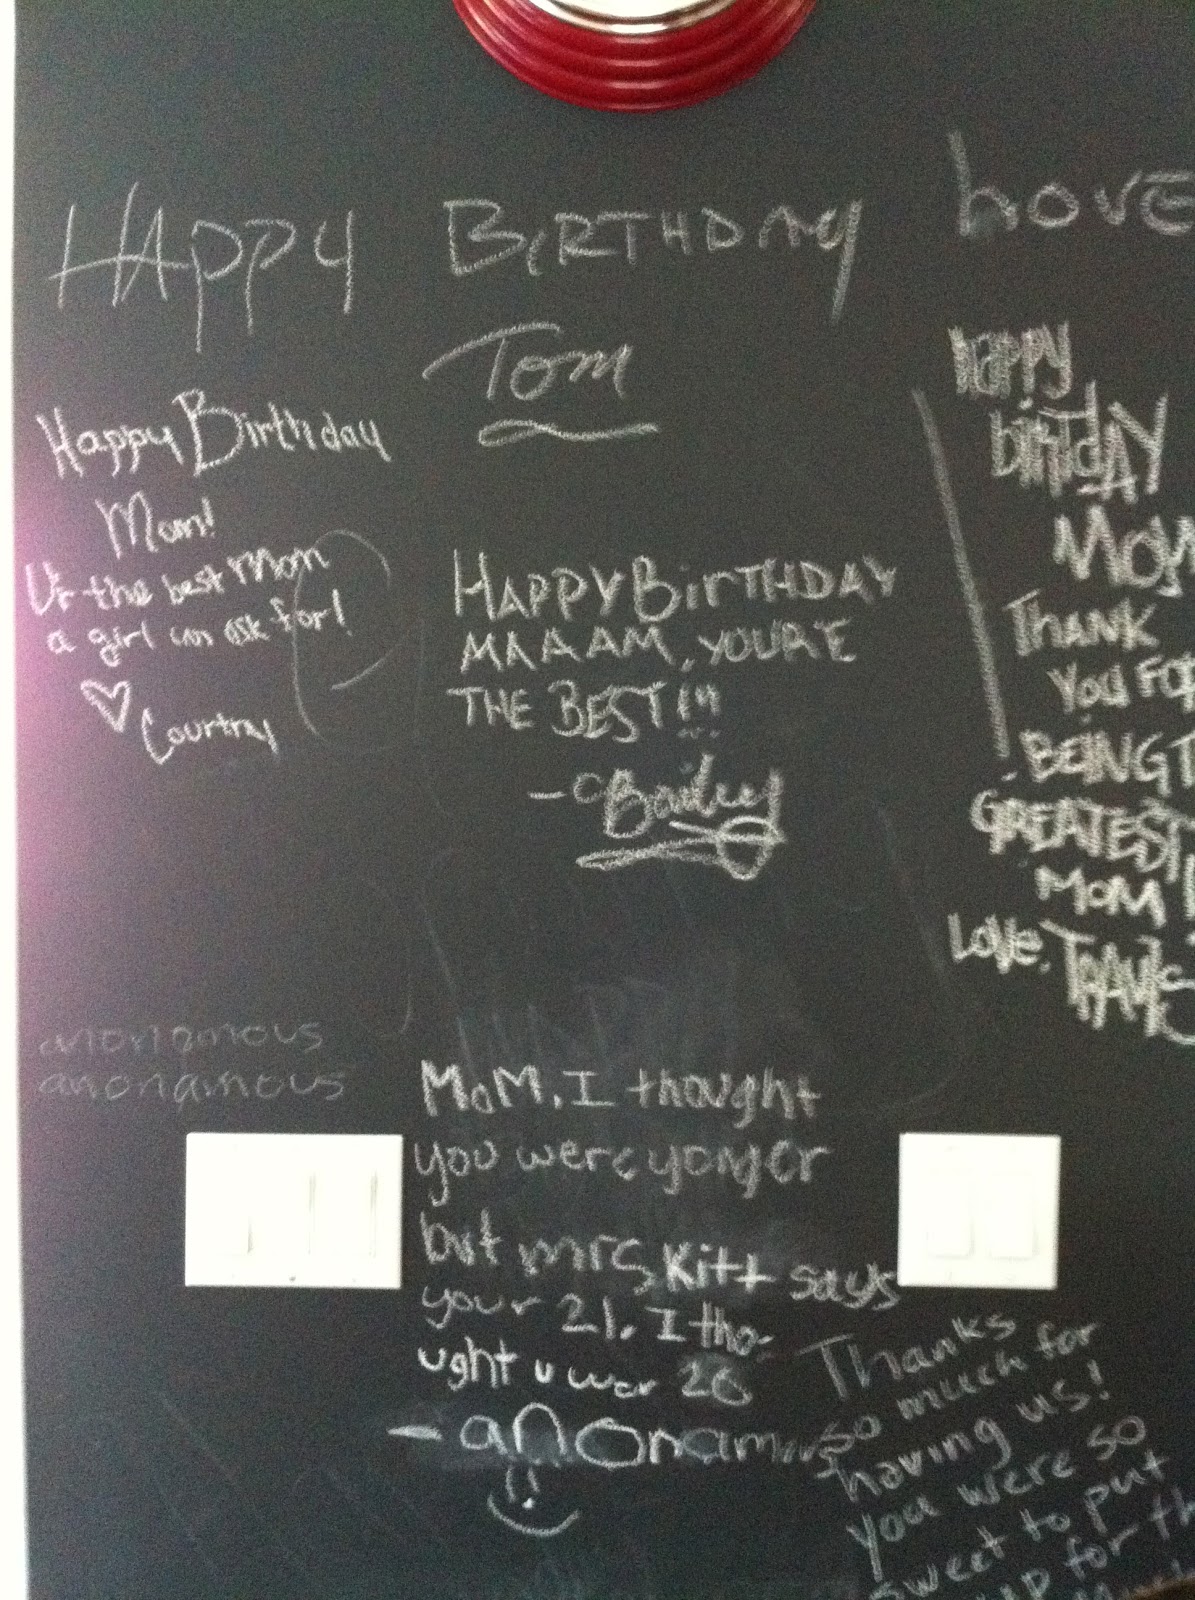
The third day happened to be my birthday and I came downstairs to this. 
I absolutley love this wall. 


When friends come over, they love to write notes or draw fun pictures.  Kids love to write on the wall.  My family writes things they love, funny things, notes, reminders to me.  Some messages are random, some are sweet, some are goofy.  No matter what is written on the wall, I love it.  It is a snapshot of our life as a family.  I highly recommend putting a chalkboard wall somewhere in your house. 

Monday, January 31, 2011

Little Craft Project

I found the cutest little ruffled cake topper on The Sweetest Occasion Blog.  I was working on making some of these myself when Brittny came over and got inspired.  Check out the cute headband she made.

Ok, I know she is my granddaughter, but isn't she just the cutest little girl you've ever seen?!!!

Here are some quick instructions if you want to make this.  It took Brittny about 15 minutes to make it.


Cut a piece of fabric 2" x 8" with pinking shears. 


Fold the strip in half lengthwise, wrong sides together.


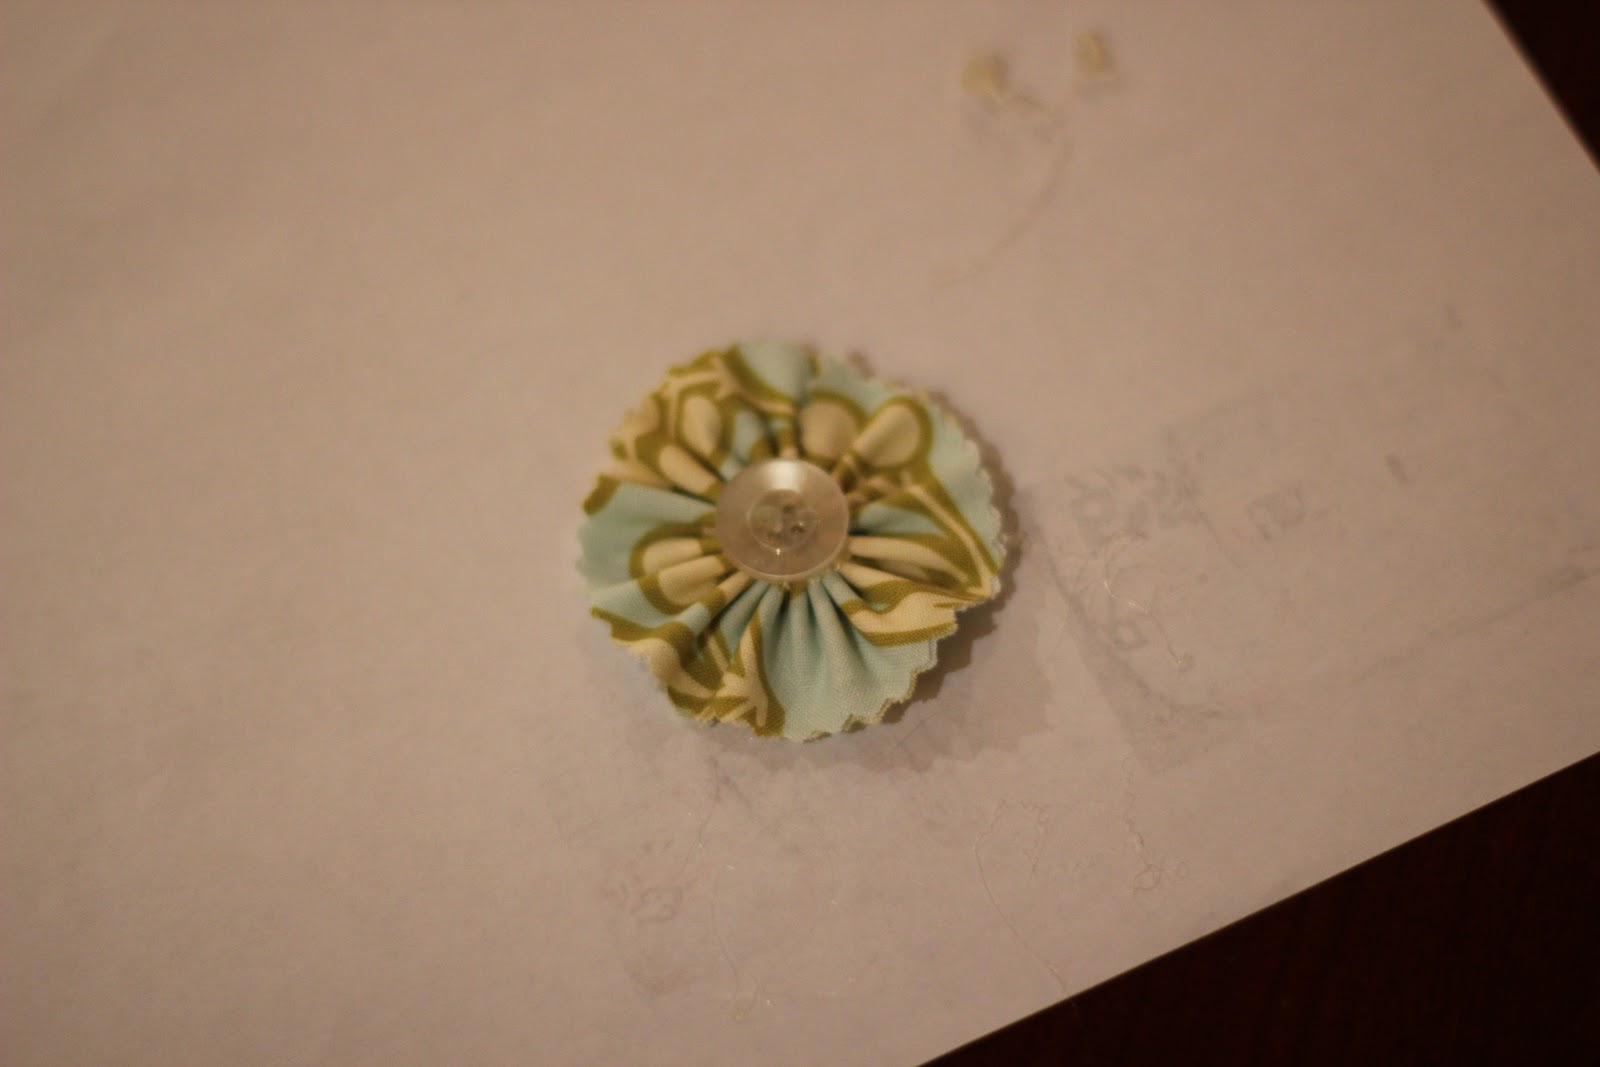
Hand sew a running stich along the folded end of the fabric.  Be sure to knot the end of the thread before you start.  When you have sewn all the way across, pull the thread to ruffle the strip.  It will pull together in a circle.


Sew the ends together to secure the circle.


Next, hot glue a botton or other cute little decoration in the center.


Next, find some elastic, measure to the head of some cutie pie that will wear it and sew ends together.


Hot glue the flower to the elastic over the seam that you just sewed.


Then place on a little cutie!  
(She sure loves her daddy!)

Enjoy!